Begin with a repeatable shot
Before choosing equipment, describe one scene you regularly record. It might be a walk-and-talk, a desk demonstration or an interview. Note what goes wrong: shaky framing, distant speech, poor light or a setup that takes too long. A focused problem gives you a better starting point than a list of impressive specifications.
Separate the camera from the microphone
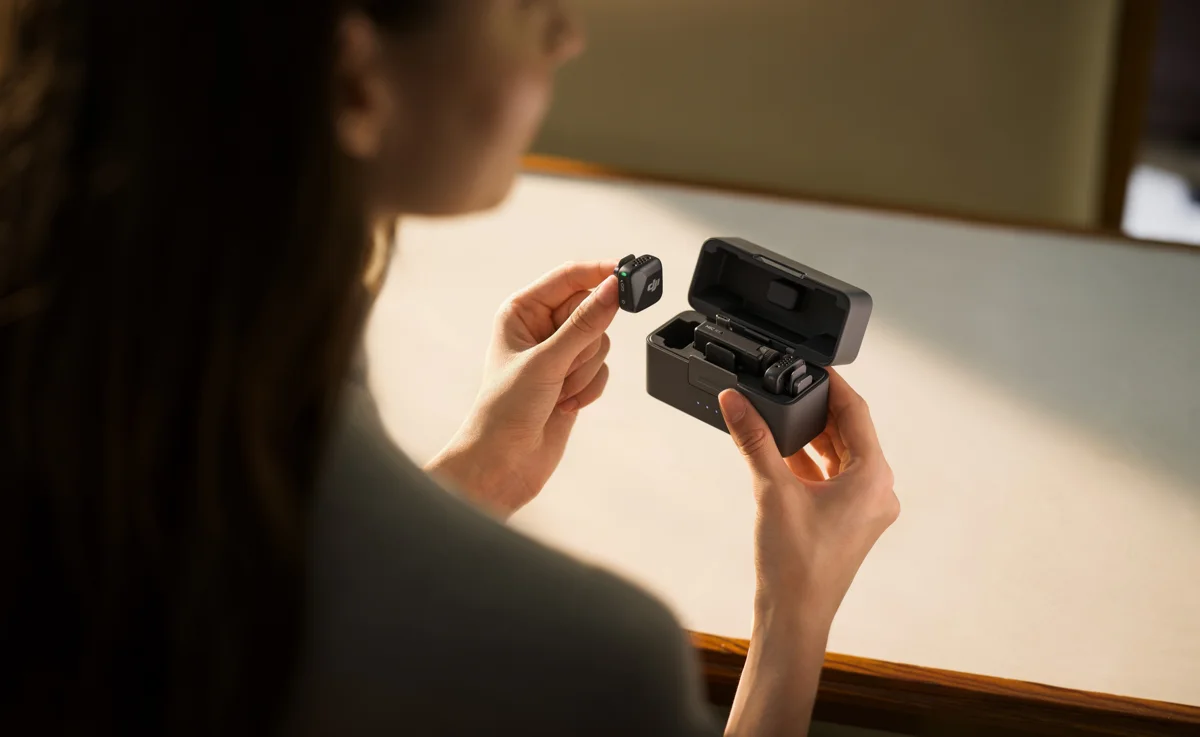
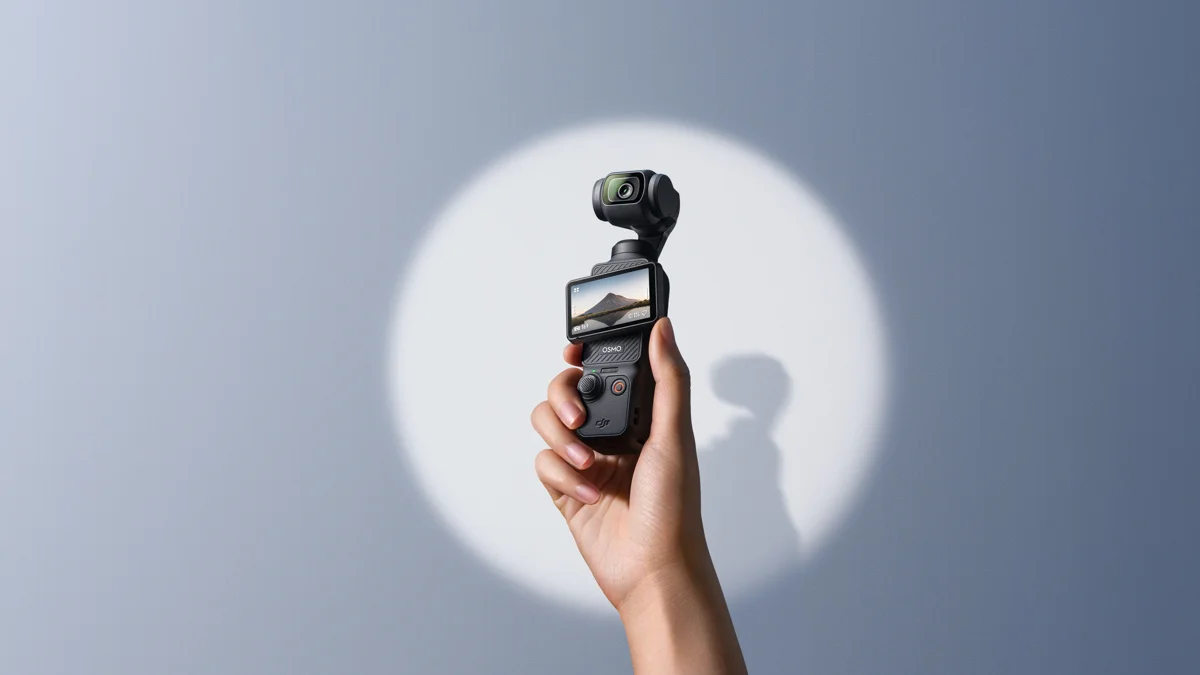
DJI’s Pocket 3 combines a rotating screen with a mechanical gimbal. Mic Mini is a separate wireless audio system. They address different parts of the recording process. A camera choice cannot tell you whether the speaker will be close enough to a microphone, and a microphone purchase cannot fix a badly framed shot.
Map the connection before choosing a bundle
Write down the exact devices and adapters in the path from speaker to recording. Confirm supported connections in the maker’s documentation. Look at the contents of the specific bundle, not only its promotional image. If the setup depends on a receiver or cable, include it in the packing list and budget.
Make a short practice routine
A useful trial covers the start, the interruption and the finish: begin recording, move as you normally would, pause, then find and review the file. Check speech, framing and the steps needed to transfer the result. Repeat the same scene when comparing options so the comparison reflects your work rather than a changing environment.
Turn one recurring failure into a priority
Consider a solo demonstration at a desk. If the object regularly slips out of frame, the immediate task is to see and control the framing. If viewers cannot understand the explanation, sound deserves attention before another camera feature. Write the failure as a sentence that a finished recording can answer: the viewer can see both hands, or every instruction remains intelligible. This creates a useful stopping point for shopping. You are trying to improve one part of the recording, not accumulate enough equipment to resemble someone else’s production setup.
Make camera placement part of the script
Sketch three positions before buying a mount: the opening explanation, a close detail and the final result. Identify which shots require movement and which could stay still. Leave space for the presenter to use the product rather than working around the camera. When investigating Pocket 3, check its documented recording modes and support accessories against those positions. Mechanical stabilization does not replace a shot plan. Nor does it tell you whether a particular mount will hold the camera safely in the place you have chosen. Treat mounting compatibility as its own check.
Trace audio all the way to the saved file
For any wireless microphone, distinguish the object worn by the speaker from the device that receives or records its signal. Write down the exact camera or phone, the connection method and the application that will save the clip. Do not assume that two products from the same maker connect in every mode. With Mic Mini, consult the current compatibility information for your particular arrangement. Before a real recording, make a short spoken identification of the setup and play the file back. Seeing a meter move is useful, but hearing the saved result answers a different question.
Rehearse the awkward parts
A practice recording should include the moments most likely to be overlooked: reaching for an object, turning away, interrupting yourself and resuming the explanation. Check whether clothing touches the microphone and whether your chosen framing still includes the work. If your normal location contains background conversation, use a similarly realistic setting for the trial. Do not compare one device in a quiet room with another in a busy room and attribute every difference to the hardware. This is a suggested evaluation routine, not a claim that either featured product passed these situations.
Include storage and handoff in the kit
A recording is not finished until you can find, copy and use the file. Identify the documented storage requirement, the transfer route and the editing application before choosing accessories. For a collaborative project, send a short sample through the actual handoff process and ask the recipient to open it. Keep an untouched original while trying an edit. Label takes in a way that remains understandable the next day. These habits can expose a missing cable or an inconvenient transfer step before a longer shoot, without requiring a purchase or a sophisticated production system.
Pack for the second take, not just the first
Lay out everything needed to repeat the session: charged equipment, the appropriate storage, necessary mounts and the connection accessories you verified. Give each small item a place in the bag. Then rebuild the setup from that bag instead of leaving it permanently arranged on a desk. Count the steps you forget. The smallest useful kit is the one you can assemble reliably under your real circumstances. A bundle with more pieces may be worthwhile, but only if those pieces have a defined job rather than remaining unidentified extras in a case.
Review the result on its destination screen
Open a sample where the audience will actually see it, rather than only on the camera screen. Check whether the important detail remains visible and whether speech can be understood through an ordinary playback device. If the finished project will contain captions or graphics, leave room for them when planning the shot. This is an editing and composition check you can perform with existing equipment. It can identify a framing problem before you attribute the problem to camera resolution or decide to buy additional hardware.
Decide when another purchase is unnecessary
After a trial, separate technique problems from equipment limitations. A clearer script, a different camera position or a quieter location may address the problem you wrote down at the start. If a limitation remains, describe it precisely and use that description to compare documented capabilities. Keep Pocket 3 and Mic Mini as examples of different roles in a kit, not an instruction to buy both. Our practical recommendation is to evaluate the complete recording path before expanding it. Neither this guide nor the related product cards establish local stock, current bundle contents or a measured performance advantage.
Expanded practical evaluation guidance and mapped the sources to their supported claims; no hands-on testing added.
Sources & further reading
- Osmo Pocket 3 specifications ↗DJI · Manufacturer · Checked 2026-09-27Supports: Documented camera or microphone role and setup requirements; the rehearsal plan is editorial guidance.
- DJI Mic Mini compatibility and recording FAQ ↗DJI · Manufacturer · Checked 2026-09-27Supports: Documented camera or microphone role and setup requirements; the rehearsal plan is editorial guidance.
Source-based reporting. This article does not represent hands-on testing. Sources checked 2026-09-27.